Friday is basically a free for all. I plan on posting about things like Food, Fitness, Family, Fun, Festivities, etc. It doesn't have to be about "F" things, but look forward to me doing my best to make (ridiculous) links to the letter F.
Proverbs 17:22
A joyful heart is good medicine.

FASHION! Oh how I have longed for a long denim skirt for YEARS now! I've just never been able to find one I liked AND can afford. Not that I find many anyway...but the few I have seen have either been way out of my price range or have the super high waist lines, which I just can't bring myself to wear. I felt hopeless that I'd ever find one, so I decided to make one. I know my sewing skills aren't up to making one from scratch, so I made one from two pairs of old jeans. I have what seems to be like a zillion pairs of jeans in various sizes since I refused to wear maternity jeans my first 3 pregnancies (finally found THE pair of mat jeans this last time ::love:: ). So I took the nicest looking pair and found another pair that was similarly colored. You could also go for contrasting colors, or fill in the missing area with a panel of fabric.
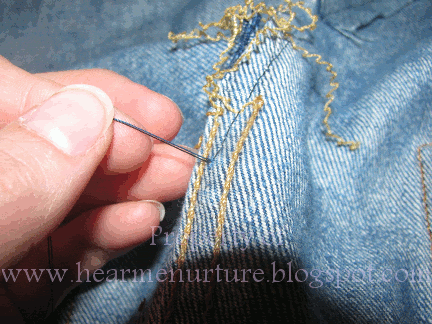
Pick the stitching of the legs out, and on up through the crotch.
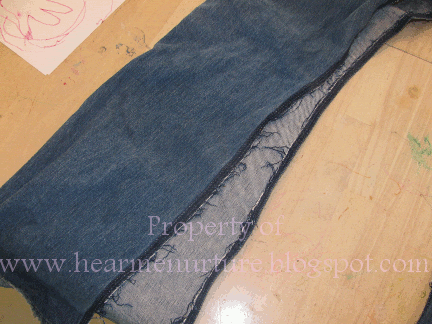
I actually had to go quite a ways up on the picking. I stopped when it would lay flat-ish...which was about the bottom of the pockets (which also gives me another idea, you could embellish the pockets, or take them off and replace them with some fun fabric).
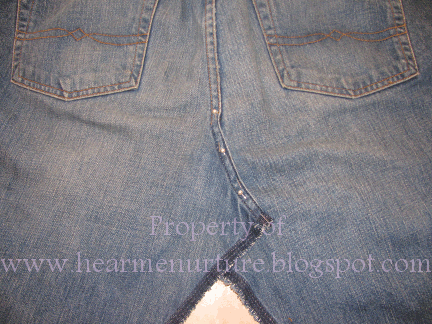
At this point I tried it on because I knew that even though it would lay flat on the table, it might not hang straight. And I was right, see all the bubbly-ness?
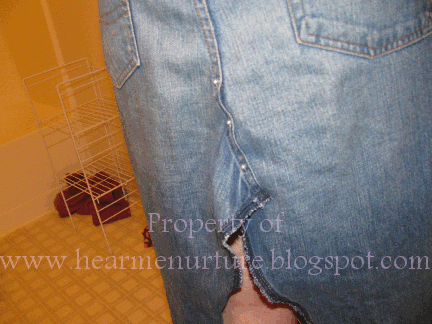
So I took it off and adjusted again and again until I got it to where I was satisfied. Pin it good so it doesn't slip on you!
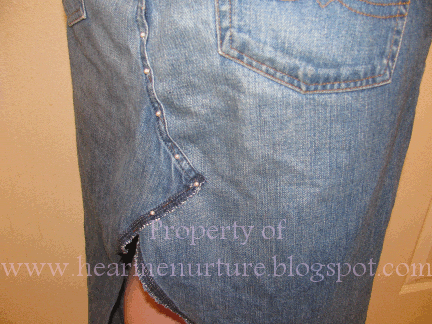
Repeat and do the same thing on the front. Again, I had to pick the stitches up pretty high, right to the base of the zipper enclosure. Be sure to NOT cut those threads too short though, later you'll use the leftover to tie it off in the back.
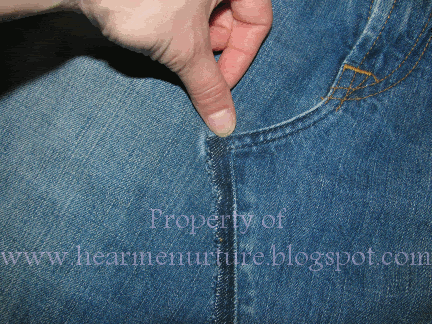
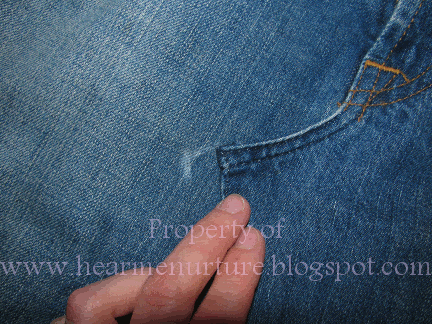
Now decide if you want to leave the raw edge out, like above, or fold it under like this. I decided to go with raw.
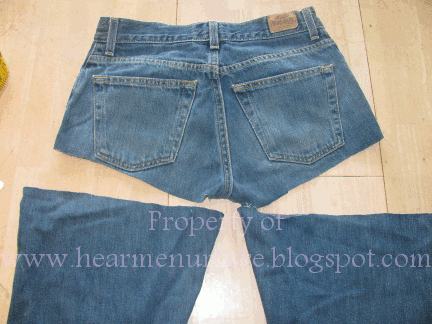
Next, grab your other pair of jeans and cut the legs off as high as you can...and for the love of all things holy, please don't wear the leftovers as shorts. There is not enough fabric there to cover a baby's booty, let alone yours or mine, ok? Use that as scraps for something or make a purse out of it. Then unpick the stitching up the legs of these jeans.
Now you need to figure out the circumference of the bottom of the skirt. I used a soft tape measure and measured my ankles while taking a really wide step. I can't remember the measurement, but it seemed huge...now I wish I'd gone a little bigger because I do occasionally trip and almost fall on my face. You could go bigger, or you could put a slit or flap in. I like the clean look, so next time I'll just go bigger. Then center your fabric how you want...I wanted the yellow seams on mine...and pin away.
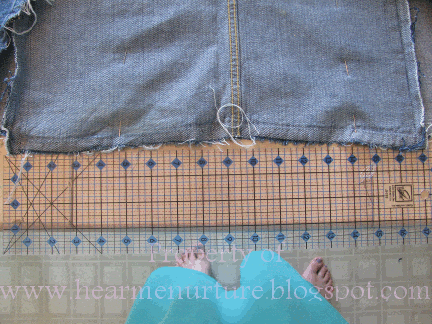
After you get it all pinned, look at it flat on the table and make sure everything is laying right. Try it on too. Make adjustments as needed.
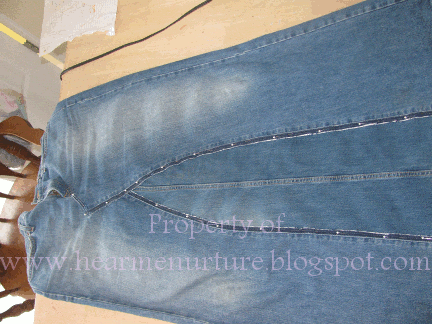
You'll notice in this picture that I have some terrible bubbling going on. It's from the knee of the second pair of jeans, so the fabric itself is warped.
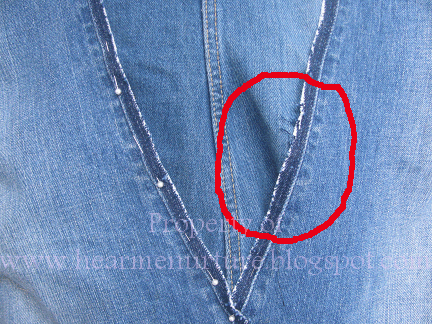
I unpinned a ways down and made the best of it. It's not perfection, but I'm satisfied. I put some extra pins in to hold it steady as I sewed and took out the primary pins.
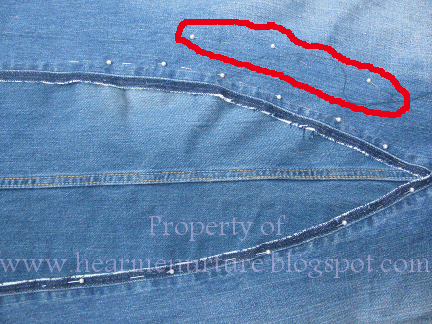
All sewn up. **DON'T do your finishing stitching before you try it on and lay it out a bit. You just never know, you might need to adjust something or smooth something and you really don't want to sit and pick 2367743763836 million zigzag stitches out. So just do a loose straight stitch for now.
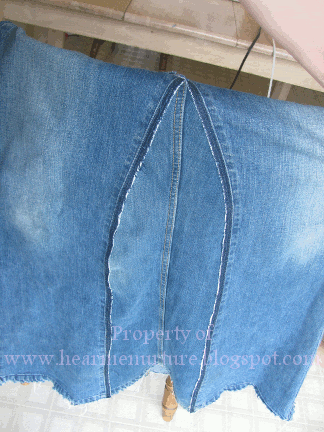
Now turn your skirt inside out and tie your thread off. Both your sewing thread and the gold thread from the jeans.
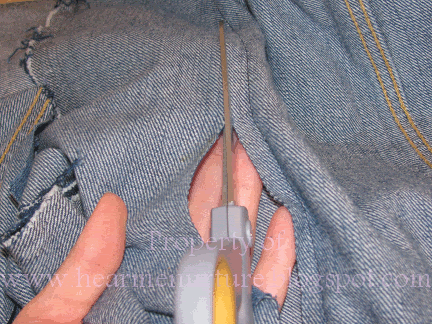
Next cut the extra off. Leave yourself some wiggle room for fraying. Also, be sure to put your hand between the scissors and the skirt fabric. I have accidentally cut through the good stuff before and it's so devastating!
Finally, decide your length. I wanted mine floor length, so I tried it on and marked all the way to the floor knowing that I'd lose some length to fraying.
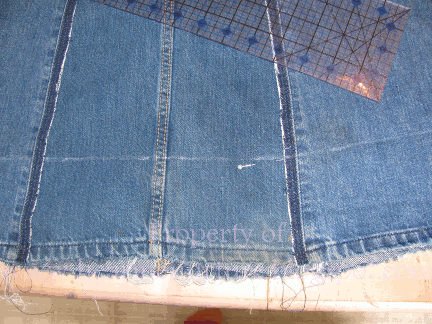
Do all your finishing stitches now (*cough* so lazy...I still haven't and I've been wearing my skirt for a month).
Viola!
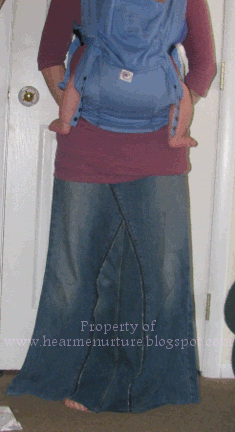
You could also make these with khakis or courdoroys. I plan on making my 4yo a pair from khakis that are too small for her 7yo brother. Please let me know if you make a skirt and link up some pictures!!!


So excited I found this. I knew that it could be done and started doing this with a pair of adjustable maternity pants from my previous pregnancies (I am 8 weeks pregnant with #3 and don't have any maternity skirts). I had to stop though because it didn't seem like it was going to work, but lo, you have shown me that it can be done!!! Thank you!!
ReplyDeleteYay!! You'll have to let me know how it goes!
ReplyDeleteThat is super cute! I should try that! Thanks for sharing! Found you through Raising Homemakers.
ReplyDeleteWow - you did a great job!! Sewing is a skill I haven't mastered, but I'm hoping I can find someone to teach my daughters to sew - or maybe we could all learn together!
ReplyDeleteTracey you should! I'm self taught and still learning. What worked best for me was to read through my sewing machine's instruction book and try all the tips out first on scrap fabric. Sometimes I get a little ahead of my abilities though and get so frustrated. I'd love to take a class someday!
ReplyDelete